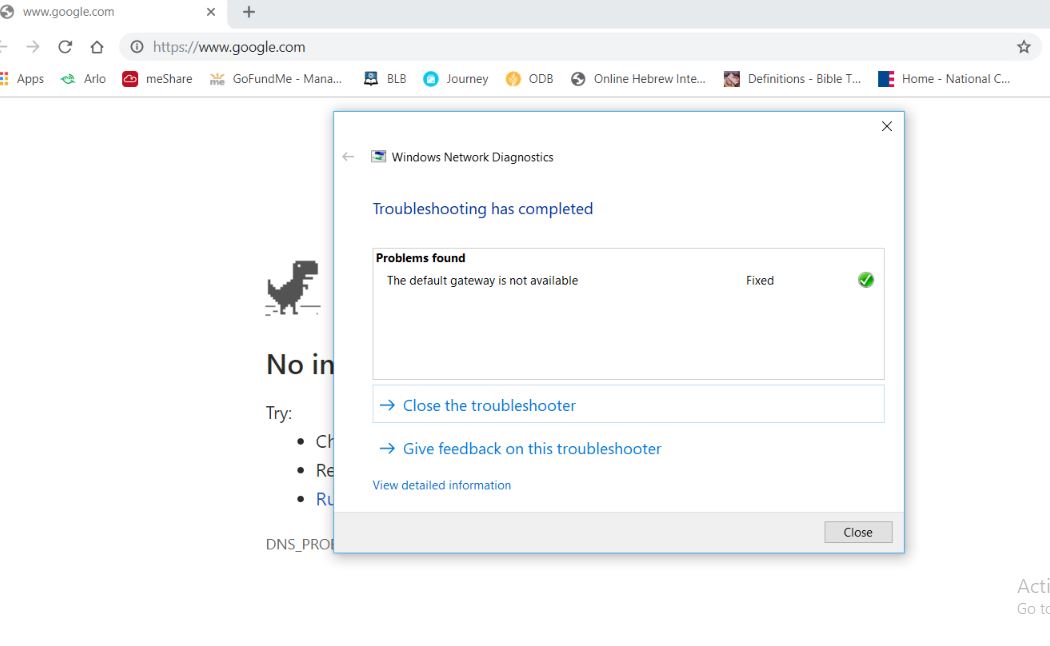
Experiencing Limited connectivity, No internet access, Or unable to connect to local Network after windows update. Well running the build in Network troubleshooter results “The default gateway is not available” (not fixed)? The Default Gateway is that node of your system which forwards packets from your network to outside networks. Or you can say default gateway serves as an access point or IP router that a networked computer uses to send information to a computer in another network or the internet.
Incorrect network configuration or problem with network adapter driver, outdated drivers could also cause this problem “Default Gateway Is Not Available“.
Default Gateway Is Not Available Windows 10
If you are also struggling with similar problems, No Internet access after Windows update and Running network troubleshooter results “Default Gateway Is Not Available” here we have multiple solutions apply to back your PC online.
Note: The solutions below are applicable to fix “Default Gateway Is Not Available” Both Ether and WiFi connection Running Windows 10/8.1 and 7.
- Power-cycle your router, modem, and PC help if any temporary glitch causing the issue.
- Press Windows + R, type appwiz.cpl, and ok to open Programs and Features window. Here look for the security software (antivirus) if Installed, right-click on uninstall.
- Turn on firewall and Disconnect from VPN (if configured)
- Also, perform a clean boot to check and make sure any third-party application not causing the issue.
Check Network or Wireless Adapter Driver Status
If you notice this problem after a fresh installation of Windows 10 check and make sure the correct driver is installed for Network or Wireless Adapter.
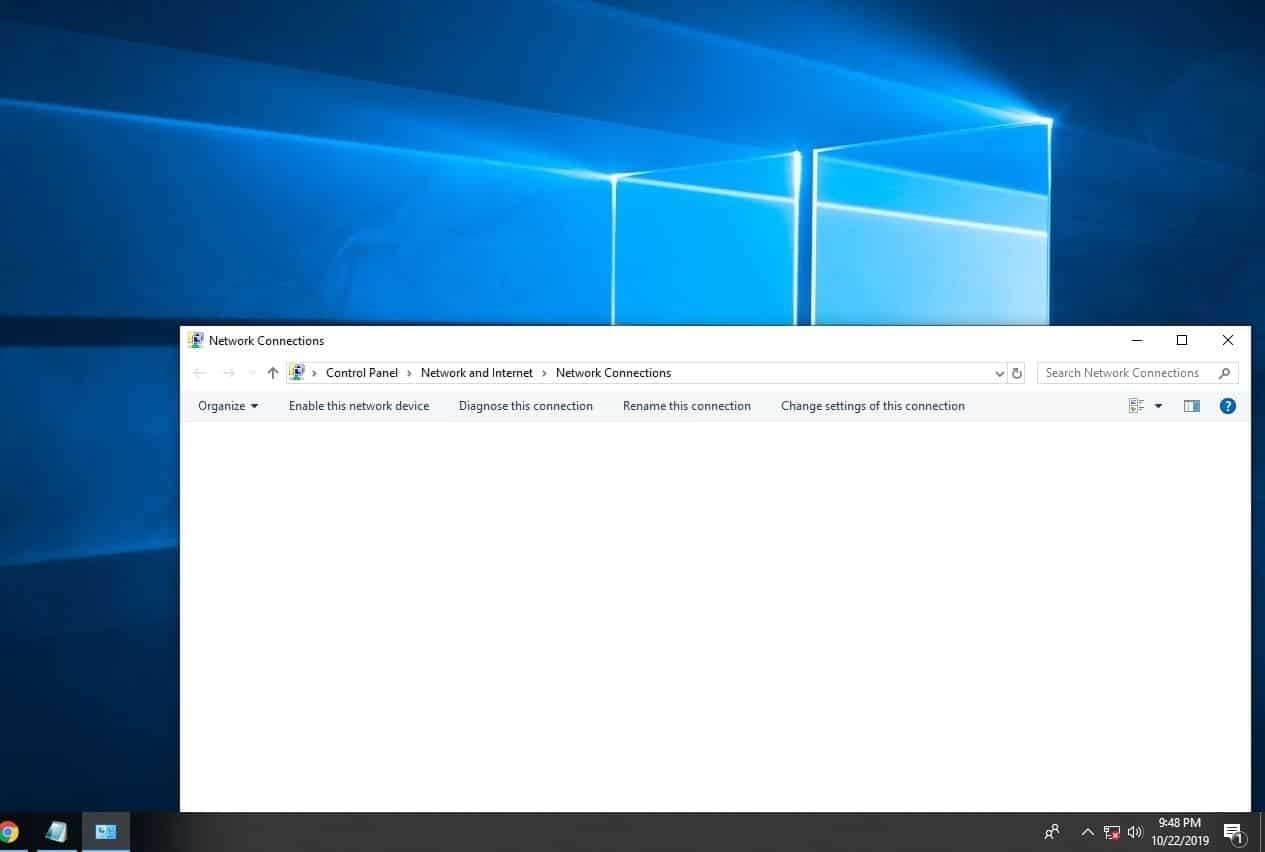
- Press Windows + R, type ncpa.cpl, and click ok,
- This will open the network connections window and display all installed network adapters.
- Well if you won’t find any then you must have to install the network driver so that your network adapters can start working.

Update network adapter driver
Well if you notice Windows 10 has already installed network adapter but still causing issue no internet access (the default gateway is not available) we recommend update or reinstall the network adapter driver with the latest version.
- Right-click on Windows 10 Start menu and select Device Manager.
- This will list all installed device driver lists, look for the network adapter and expand.
- Here right-click on the current installed network/WiFi adapter driver select update driver.
- Select option Search automatically for updated driver software and let windows check and install the best available driver version.

Reinstall network adapter
If windows fail to install or update the driver then try to reinstall the network adapter following the steps below.
- Again open device manager,
- right-click on the installed network adapter this time select uninstall driver.
- Click ok when asking for confirmation to delete the network driver.
- Restart windows to completely remove the driver software.
- After restarting your device Windows will automatically help you in installing the Network Drivers.
If didn’t then open Device Manager, click on Action, and select scan for hardware changes. This will automatically scan and install the network adapter driver on your System.

If you still didn’t find the latest network/WiFi driver for your system, Then visit the device manufacturer website (Laptop users – HP, Dell, ASUS, Lenovo etc and Desktop uses visit motherboard manufacturer website.) Download and install the latest available network/WiFi adapter driver for your PC. Restart your Windows and check the problem solved, the Internet and network connection started working.
Reset TCP/IP to Default
Here is another effective solution fixes most of the network and internet connection problems is windows 10.
- Open the Command prompt as Admin.
- Type “netsh int ip reset”, in command Prompt Enter.
- Next run command Ipconfig /release To completely release the Current IP address, Subnet mask, Default gateway, DNS server Address, etc.
- Then perform command Ipconfig /renew to request DHCP for a new IP include the Subnet mask, Default gateway, and DNS Server Address.
- Now perform command ipconfig /flushdns to clear DNS Cache and ipconfig /registerdns to register the DC’s host and PTR records.
- Finally, Reboot your PC and check on the next login network And the internet connection started working.

Check Windows IP address settings
- Press Windows + R, type ncpa.cpl, and click ok,
- You’ll see a list of network adapters.
- Identify the one that is being used to connect the machine to your network, right-click on it and choose Properties.
- Scroll to find Internet Protocol Version 4, click on it and then click the Properties button.
- A new window opens, here check the radio button selected to Obtain an IP address automatically and Obtain DNS server address automatically.

Assign default gateway manually
Basically, the Router Ip Address is used as a Default gateway Address on the computer network. If you know your Router IP then you can try to manually add the Default gateway address by following the steps below.
- Press Windows + R, type ncpa.cpl, and ok to open the network connections window.
- Right-click on Active Network/WiFi adapter connection select properties.
- Look for Internet protocol version 4 (TCP/IP v4), Double click on it to get its properties.
- Here select the radio button use the following IP address.
- Then type IP address as below image (For example if your Router IP address is 192.168.1.1)
- Checkmark on Validate settings upon exit and ok apply to make save changes. Now check the problem is resolved or not.

Change Power Management Settings for your Network Adapter
- Press Windows + R then type devmgmt.msc and hit Enter to open the device manager.
- Expand Network adapters then right-click on your installed network adapter and select Properties.
- Switch to Power Management Tab and make sure to uncheck “Allow the computer to turn off this device to save power.“
- Click ok to apply changes and close Device manager.

- Next move to Settings -> Click System -> Power & Sleep.
- On the bottom click on Additional power settings.
- Here make sure you are using a High-performance power plan.

Next click on Change plan settings (next to the power plan which you use.) click on “Change advanced power settings.“ Expand Wireless Adapter Settings, then again expand Power Saving Mode.
You will see two modes, ‘On battery’ and ‘Plugged in.’ Change both of them to Maximum Performance. Click Ok to make save changes and Reboot your PC check problem is resolved.

Change the wireless mode to 802.11g
Also, some users report changing the Wireless mode from 802.11g/b to 802.11g helps them to fix the issue.
- Open network connections window using ncpa.cpl.
- Locate your wireless network adapter, right-click it and choose Properties from the menu.
- Click the Configure button.

- Go to Advanced tab and select Wireless mode.
- Select 802.11g from the drop-down menu.
- Save changes and check if the problem is resolved.
Did these solutions help to fix “the default gateway is not available ethernet/WiFi connection”? Let us know which option worked for you.
Also read:
